
![]()
![]()
![]()
Take the time to tell a friend about this site.
![]()
Please sign my guestbook
![]()

Some points to remember when building a corkscrew:
- You want the twisting to be as even as possible all the way through the corkscrew. You should be able to look down the corkscrew and see a near perfect spiral.
- Don't make the corkscrew too tight. If you make it too tight the train will loose speed and you won't be able to make as big a coaster.
Step 1
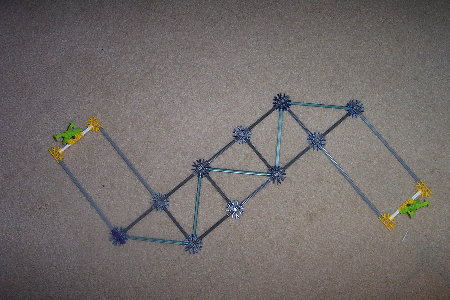
Start out here
with the base for the supports. You want to make sure that the connectors
are facing the right way (the gray connectors are pointing NE to SW).
Step 2
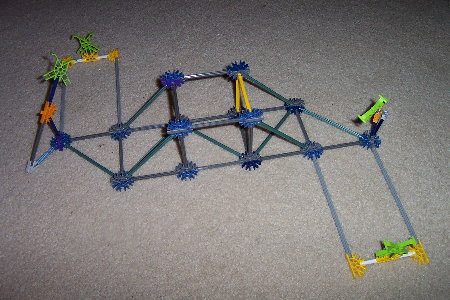
The next step is
to form the base for the tall supports. In the middle you will form
a cube with the green rods connecting on the sides for extra strength.
You will also add 45 degree supports on the corners consisting of 3
blue rods and 1 gray metalic rod.
Step 3
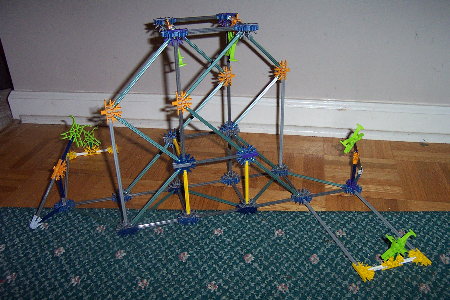
This step involves
some somewhat complicated supports. You can get a basic idea from the
photo on what to do where. You want to set up supports on the side of
the track facing away from the supports. This way the train will not
run into any supports resulting in a big problem. On the top of the
supports you will have 2 fixed cross braces for the track to connect
to. Looking from the top the very top of the supports would form a sqare.
Step 4
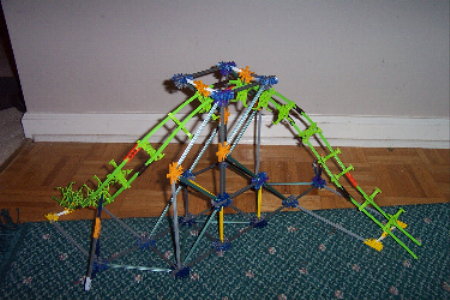
This is the finished product without the tubing. Fitting the green track can pose a problem at first but if you just work with it you should find yourself with a solid corkscrew. If your track isn't as smooth as you want it (you can see in the picture that it isn't as smooth as possible) it will be once you add the tubing which really helps.