Some points to remember when building a Dive Loop:
- Don't make the half loop section too tight. The design I have here will make it about as tight as you'r ever want to.
- Don't make the banking section too tight as well. This will obviously slow the train down.
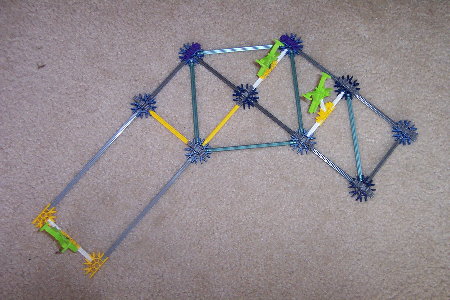
Step 1

The first step
is to build the base. It will form a L-shape. The picture tells the
rest.
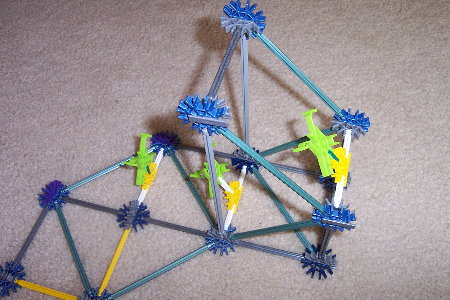
Step 2

The first thing
we will work on is the supports for the half loop. The supports at this
point are only about half as high as they will be.
Step 3

Adding on to the
half loop supports for this step. It may look like the half loop won't
fit right with these supports but if you look at the finished product
below you will see that it does.
Step 4

This is the last
step for building the supports. In this step you will build the supports
for the entrance (or exit if you're doing an immelmen). The tallest
point on this step will be half the height of the tallest point. An
important part of this is on the orange connector in this section there
is a gray connector (the one that connects only one rod) to fit the
flexible track through.
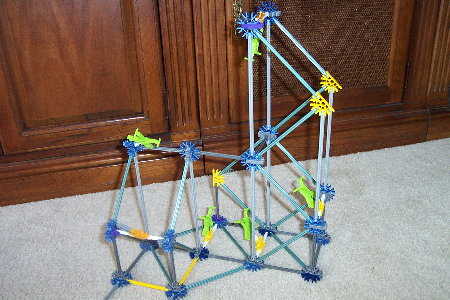
Step 5

The final step
is to conect the track. This is what the finished product should look
like.
